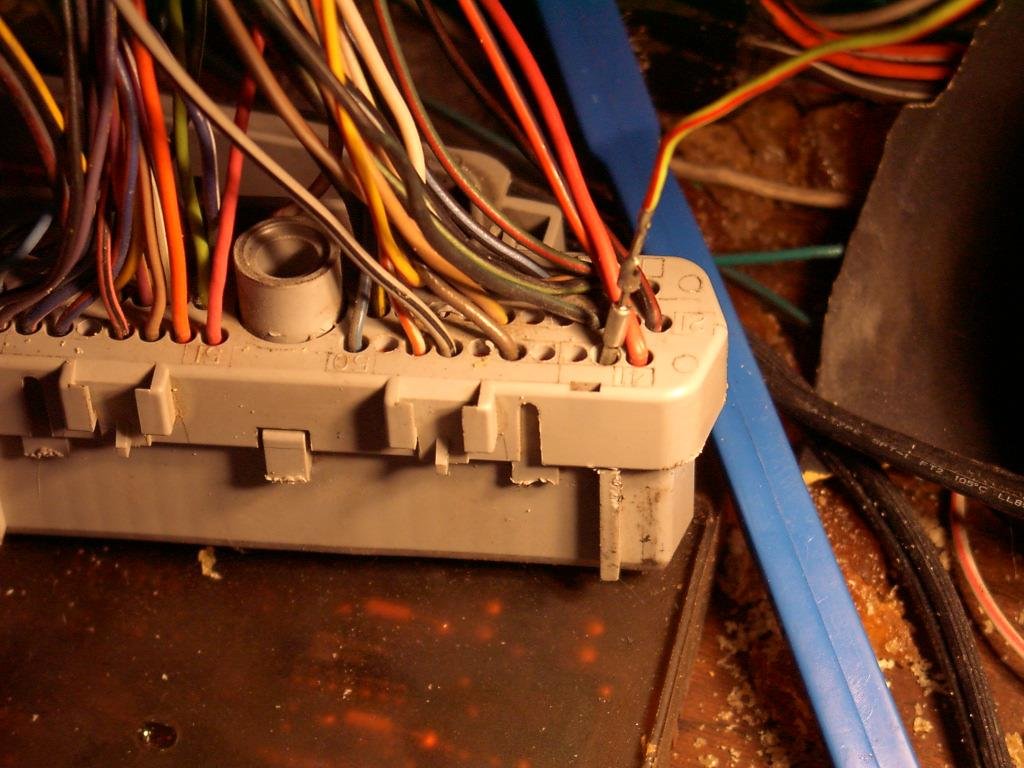
Adding a Pin to the SMEC or SBEC 60-way connector
These instruction will show you how to add a pin/wire to the 60-way connector of the SMEC or SBEC. The added wire can be used, for example, to reflash the ECU, or to add an Intake Air Temp sensor.
- Obtain a pin and wire from a spare harness or at the local junkyard (BoostButton also stocks them).
- Carefully pry the red plastic inserts from the 60-way with a small flat screwdriver or knife.
- Then the gray plastic 60-way housing needs to be drilled out slowly with the right size drill bit.
- Insert the salvaged wire and pin into the new hole from the wire side of the connector.
- A small nub of the gray plastic leftover from the drilling process should be pushed out, if it hasn’t already fallen out.
- Reinsert the red piece and you are done.
For the bootstrap (flash) wire on a SMEC, the pin needs to be added to cavity #11.
The pictures show a pin being added to cavity #42.
Please note the difference when you go to drill your 60way connector.
Get a spare pin from a junk harness plug.
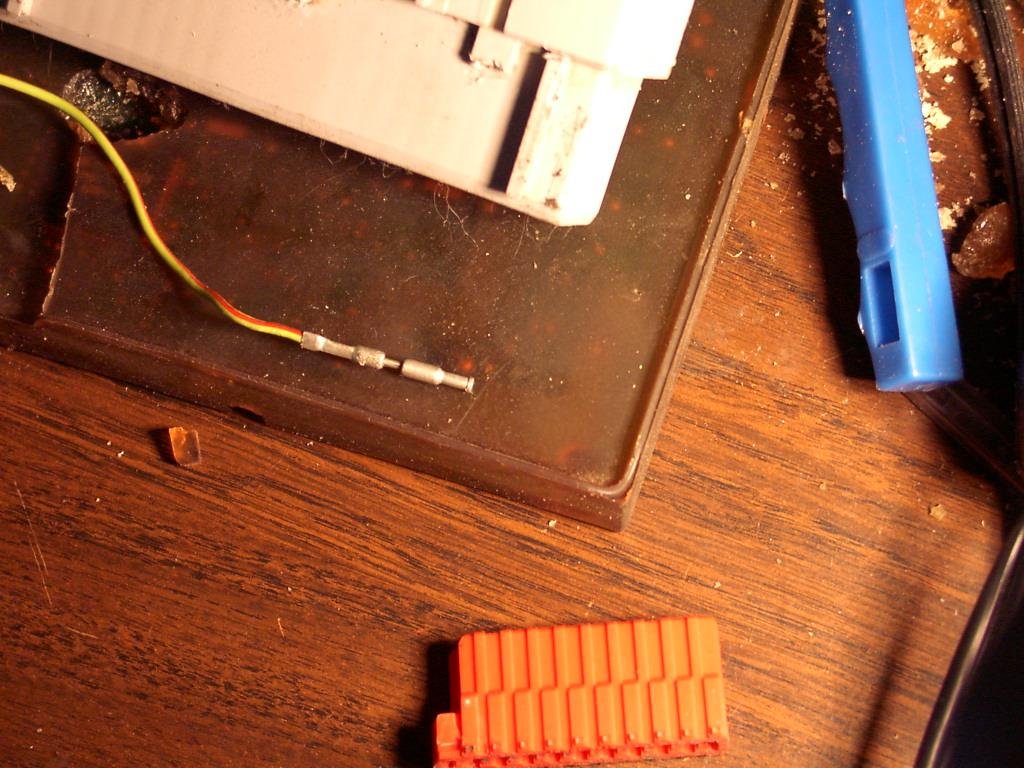
Insert the screwdriver or knife here.
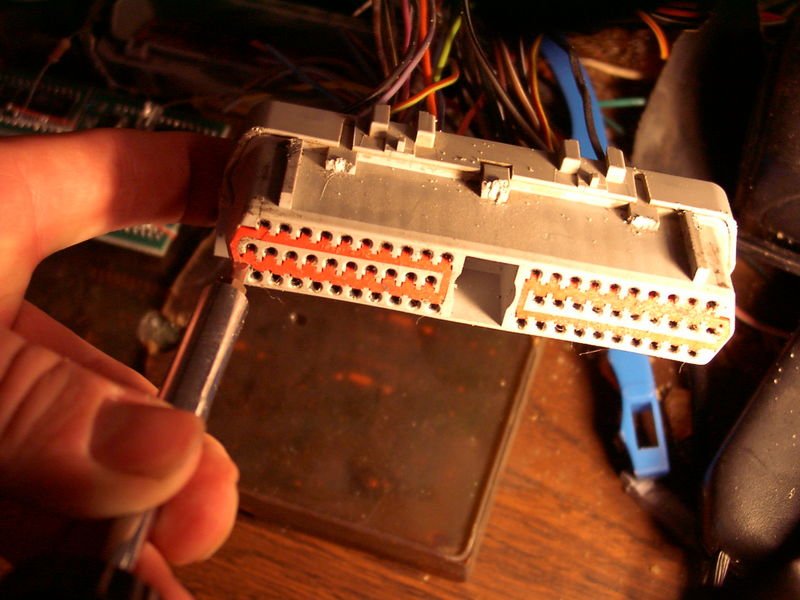
Pry a small amount at a time, until……the red piece is all the way out.
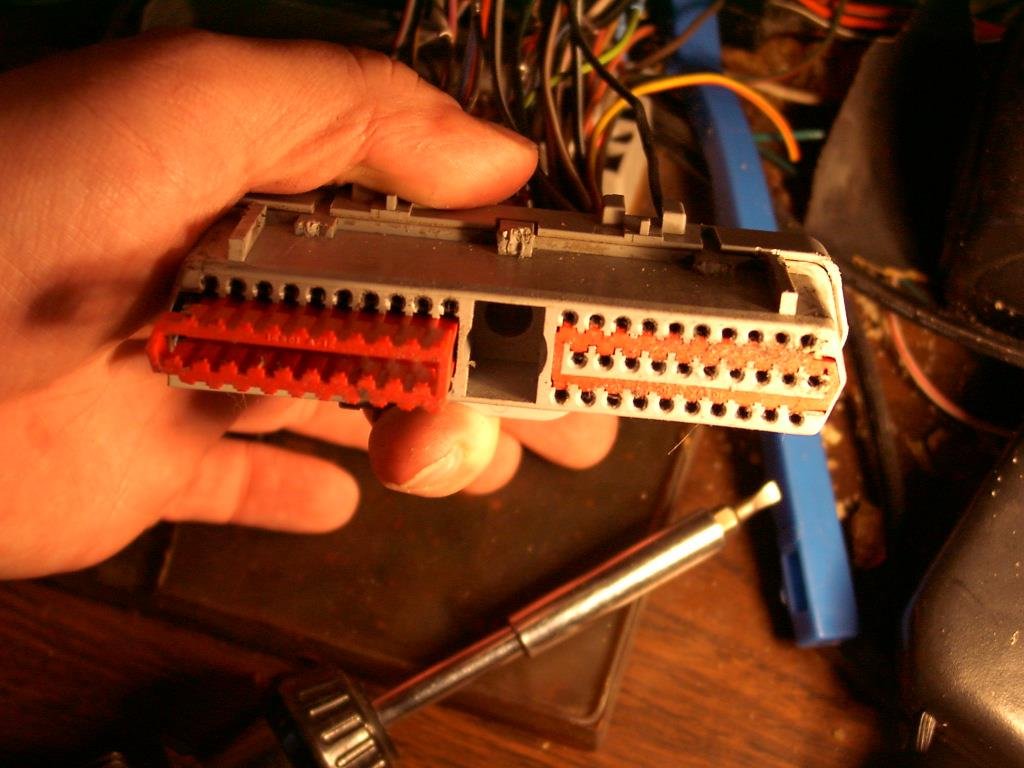
Drill through the gray part from the harness side, but don’t go too deep.
(please note – the pin being added below is pin #42, NOT #11).
Push out the gray plastic nub thru the front side.

This is Pin 11 (used for bootstrapping/flashing a SMEC).
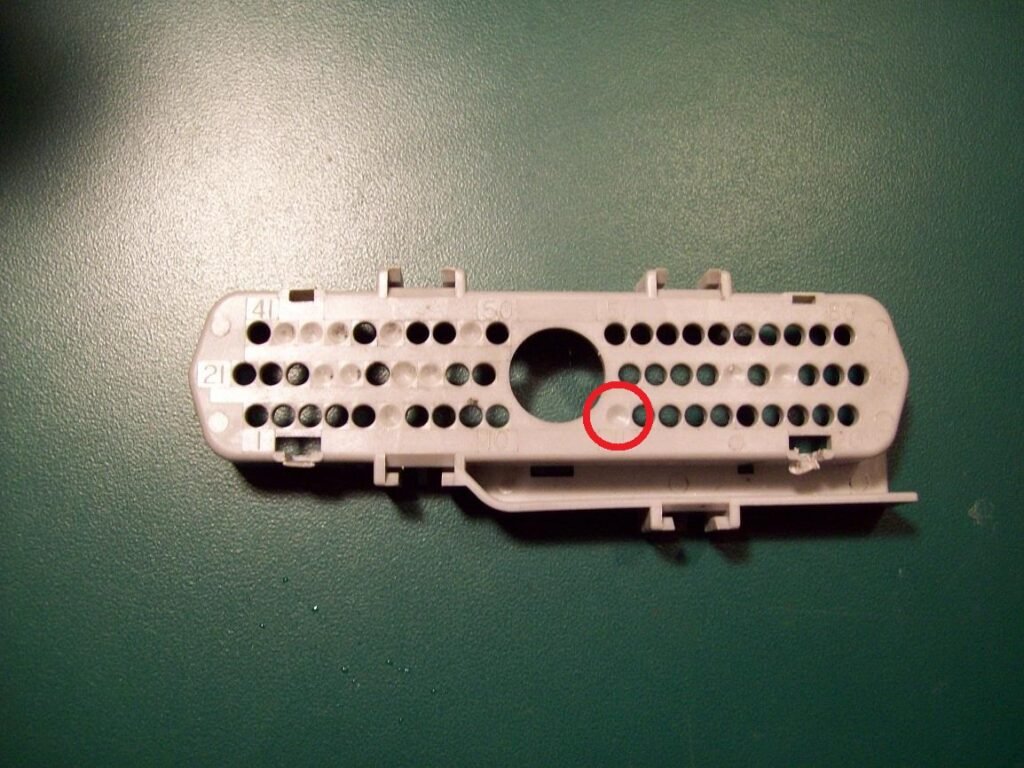
Insert the new pin all the way until it stops (it will ‘click’), then push the red piece back in.
